
How I Scanned the AR Wing Pro with an iPhone 13 Pro Max and MacBook Pro M1 Using Photocatch
3D scanning has become more accessible than ever, and I recently discovered that all you need to create a highly detailed 3D model is your smartphone, a MacBook, and the right software. In this blog post, I’ll walk you through how I successfully scanned my AR Wing Pro using an iPhone 13 Pro Max, a MacBook Pro M1, and the powerful Photocatch software.
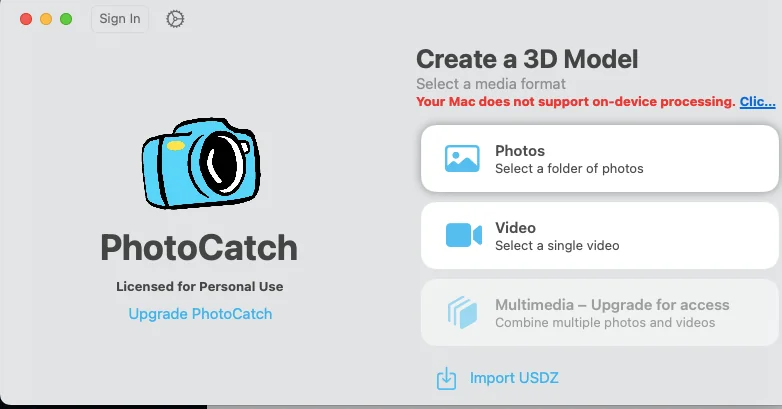
Why Photocatch?
Photocatch is a game-changing photogrammetry tool that converts photos into 3D models using Apple’s RealityKit framework. It’s incredibly intuitive and leverages the power of macOS and Apple Silicon to process images quickly and accurately. With just a few steps, you can transform your object into a virtual model.
What I Used
- AR Wing Pro Drone: The star of this project.
- iPhone 13 Pro Max: Equipped with a high-quality camera and LiDAR for precise details.
- MacBook Pro M1: Ideal for handling the processing-heavy task of creating 3D models.
- Photocatch: The magic software that brings it all together.
- A stable workspace with even lighting.
The Process
1. Preparing the Scene
I set up the AR Wing Pro in a well-lit space. Consistent, even lighting is crucial for photogrammetry, so I avoided harsh shadows and reflections. I placed the drone on a neutral, non-reflective surface to ensure the software wouldn’t get confused by background elements.
2. Capturing the Photos
Using my iPhone 13 Pro Max, I took 300 photos from every possible angle. Here’s what I focused on:
- Capturing the entire object from all sides (top, bottom, sides, and corners).
- Ensuring there was at least 60% overlap between photos.
- Maintaining a steady hand or using a tripod for consistency.
The iPhone 13 Pro Max is fantastic for this task because its camera captures high-resolution images, and the wide-angle lens is perfect for tight spots. Additionally, its LiDAR sensor ensures precise depth information.
3. Transferring Photos
After completing the photo session, I transferred the images to my MacBook Pro M1. The process was quick and seamless thanks to AirDrop and the M1’s blazing-fast storage.
4. Processing with Photocatch
I imported the photos into Photocatch, and here’s where the magic happened:
- Fast Processing: Photocatch handled the 300 photos effortlessly, with the MacBook Pro M1’s power ensuring no lag or delays.
- Incredible Detail: The software captured every fine detail of the AR Wing Pro, from the smooth curves to intricate surface textures.
- Simple Workflow: Photocatch’s user-friendly interface made the process feel straightforward, even for someone new to photogrammetry.
5. Reviewing and Refining the Model
Once the processing was complete, I reviewed the 3D model in Photocatch. The result was a highly accurate representation of the AR Wing Pro. The software even managed to replicate subtle details like the surface structure and sharp edges.
I exported the final model in USDZ and OBJ formats, making it versatile for use in 3D applications or online platforms like Sketchfab.
What Makes This Workflow Stand Out?
- Professional Results with Consumer Tools: Using just an iPhone and MacBook, I achieved professional-grade results.
- User-Friendly Software: Photocatch made the process intuitive, even for someone with no prior experience in 3D modeling.
- Power of the MacBook Pro M1: The M1 processor handled the heavy computational workload with ease.
Final Thoughts
Scanning my AR Wing Pro with an iPhone 13 Pro Max, Photocatch, and a MacBook Pro M1 was an incredible experience. It’s amazing how accessible 3D scanning has become with the right tools. Whether you’re an artist, engineer, or hobbyist, this workflow opens up endless creative possibilities.
If you’re thinking about diving into 3D scanning, I can’t recommend Photocatch enough. Give it a try and let me know your thoughts! Have questions or want to share your own experiences? Drop a comment below!